Wednesday, January 27, 2010

This Week's Project - Wilmer's suit :)

When we found out from the ultrasound that we were having a boy this time, the first thing I realized is that we had almost no clothes around here for a boy baby. It's understandable since Jeremi will be 14 before Wil is born, but certainly something that needed fixing.

I went through my bins of patterns and was surprised to realize I had nothing for a boy there either! While I was considering running to Walmart or Joanns, I remembered my shelf of Sew Beautiful magazines. Hooray for Sew Beautiful!

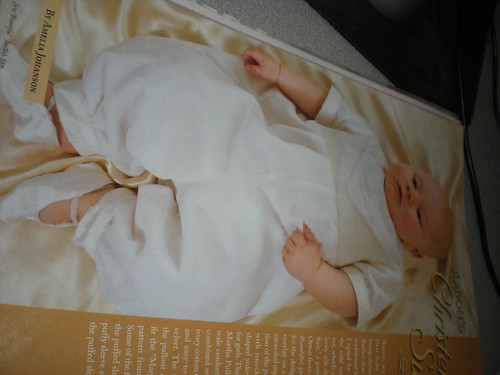
I found an issue with a free pattern called "Aaron's Christening Romper" and thought in another fabric it would be perfect. :)

So I dug through my fabric stash looking for Something - Anything - suitable for a boy. I finally found some light blue gingham that even my husband was willing to accept as not too feminine. :)
The original pattern included a sort of triangular yoke which you are supposed to lay over your smocked piece and cut away the part of the smocking that it covers. Maybe it's just my laziness, but I was not willing to spend that much time smocking just to cut it away. Not to mention, I couldn't find the power cord for my embroidery machine. :) (Now before you look at the picture, let me explain that I am a very novice smocker. This is a total of three times that I've even tried. I don't even own a pleater, I just sew line after line of a gathering stitch on my sewing machine and then try to gather all the lines together. So let me just warn you that those funny little blue blobs are supposed to be cars and you can pretend that you knew that all along, ok?)
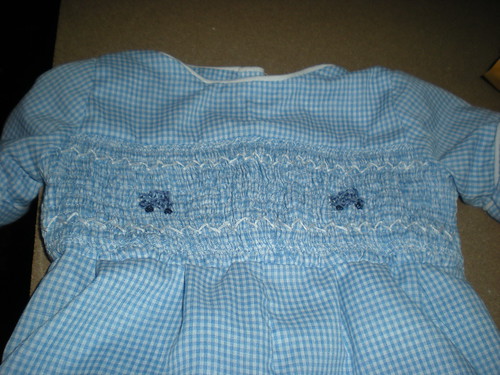
In the past I've made just a few outfits that opened at the legs for changing, and they were all flops. The snaps never stayed closed and the poor child was left crawling around with these billowy goofy looking wings hanging behind them. (Just ask my husband about the "bug pants". I don't think I'll ever live those down LOL) So, I tried something new. I used tiny buttons and button holes all along the inseam. They are surprisingly not difficult to button and unbutton. Hopefully that will still prove to be true ON the baby. :)
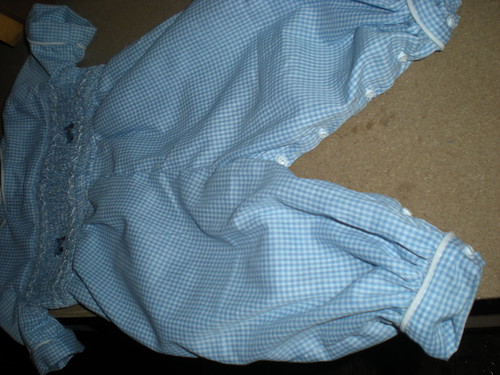
It was labled a newborn size, but it looks pretty big. At least he'll grow into it.
And then, my husband found me a power cord that worked for my embroidery machine after all. Who knew that a PS2 actually had a legitimate reason for existing?!
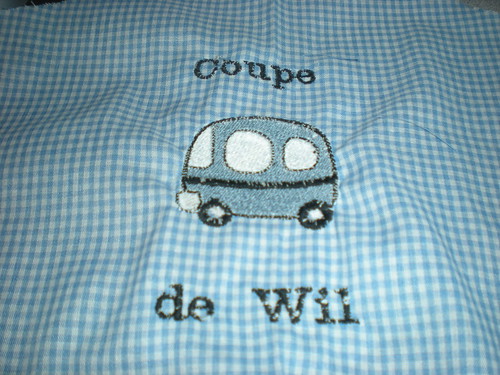
I can't take credit for the play on words. That was the title of a cross stitch design of a little car that I ran across on the internet somewhere while I was looking for little boy patterns and I thought it was perfect for our Wil. I plan to make a bib out of it.


Monday, January 25, 2010

News from the Kaether household :)


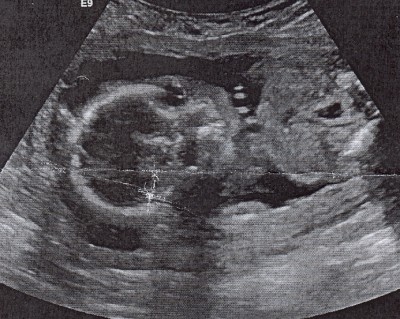
Last week I had my first ultrasound. The ultrasound went well and showed us a beautful, healthy baby. God is so good! I also "peeked". LOL

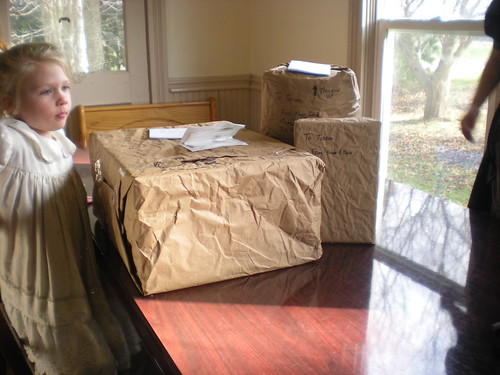
We are having our first boy in 14 years!! We are all so excited and looking forward to getting to meet Wilmer. (Named after my Grampa Gartman) I am starting to do some sewing and have already had a package addressed to Wil come from my Mom and Dad with some clothes. There isn't much saved from when Jeremi was a baby, understandably. :) But Wil won't be going naked. Emilie (my 3 yo) is concerned about him being naked right now though. She keeps asking if she can give Wil his clothes and toys and wondering why he isn't born yet. I think she'll love being a big sister.

Also last week, the new Daddy's Little Princess and DLP Organics websites have gone live. I'm so glad to have them done - for now anyway. You can check them out at http://www.daddys-little-princess.com/

Juli earned herself a SPiDer nap for doing her chores above and beyond last week, so I'll be heading to Burger King or McD's with her this noon. "SPiDer" is something I've adapted from my own childhood. It stands for Special Priviledge Day. When I was little, the person with the SPiDer got to sit up front in the car if we went somewhere, dry the dishes while Mom washed (yes this was actually considered a priviledge believe it or not!) and stay up a little later after everyone else went to bed. Mom managed to do this for us weekly, which I find amazing. For my own kids, it has become something to be earned once in a while.

Here is a picture of Juli here wearing her new blouse and skirt that she made herself!

I'm probably going to be losing both of my biggest helpers for the summer to other jobs, though I'd never want them to give up the opportunities they've been given. I sat down this morning and worked out a summer schedule for the rest of the children that I think will work well. The schedule we have now, we've been using for almost a year, which is significant. I am schedule-challenged and this is the first schedule to last more than a day or two! I'm praying the new one will go as well.

Well, that's it. All the news that's fit to print, as they say. :) God bless you and have a wonderful day!

- Heidi

Thursday, December 17, 2009

More Christmas Crafts

I love our homemade Christmas tradition. :) Here are the little gnome and fairy dolls I made for my youngest daughter's stocking. The patterns for these are available at http://www.weefolkart.com That has become one of my very favorite blogs to frequent. :) The wooden "people turnings" are from Casey's Wood and the felts and flosses are again from Prairie Point Junction.

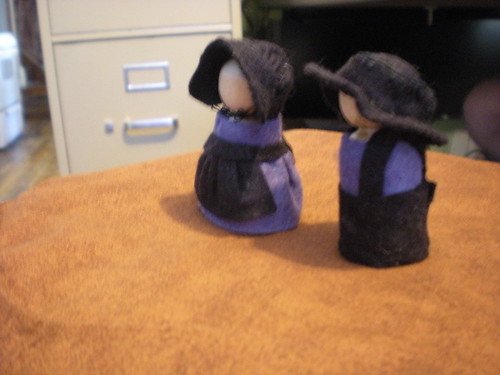
My husband loved them so much that he suggested I try a design of my own. We live in Amish country, so these are very fitting Wisconsin dolls. :)

I cut the "body wrap" for each doll using the Wee folk pattern from blue felt. Then I cut a longer piece of black, but only half as high for the man's pants and two strips about 1/4" wide for his suspenders. I found that my son's leather glue works very well on felt and wood. The lady's skirt was a longer half-high strip of blue which I gathered and then sewed the ends together at her back. Some glue made sure it stayed in place. A smaller piece of gathered black felt became her apron and another longish 1/4" strip was glued on, covering the gathered edges of both skirt and apron and wrapping around to the back.
For the man's hat, I traced around a quarter, and then drew a larger circle around it. I cut out both circles and used another 1/4" strip to create the crown of the hat. The lady's bonnet is harder to explain. I've made so many little girls' bonnets, that I know the basic shape of the pattern pieces and just faked it cutting out a little one. One of these days I'll try to draw out the patterns for everything.
I sent these two cuties to my secret sister as part of her Christmas present. I hope she likes them. :)
And off the topic of cute little wee folk...
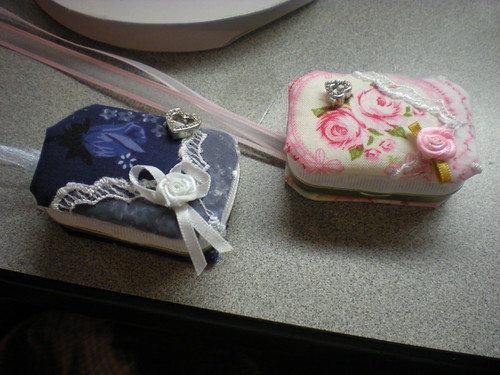
Here are the finished decorated altoid tin necklaces for the little dollies in the post below. :)

Think those will light up the faces of my 5 and 7 year olds? Especially when they peek inside? I can't wait to see their faces. :)

Monday, December 14, 2009

Altoid Tin Dolly Tutorial

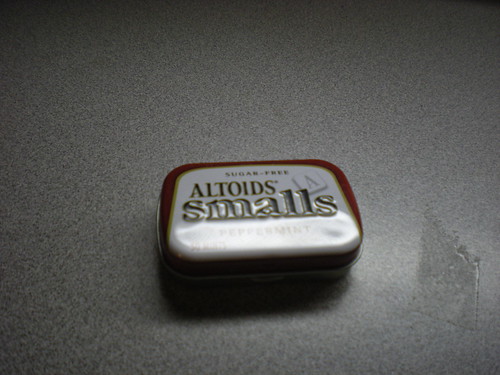
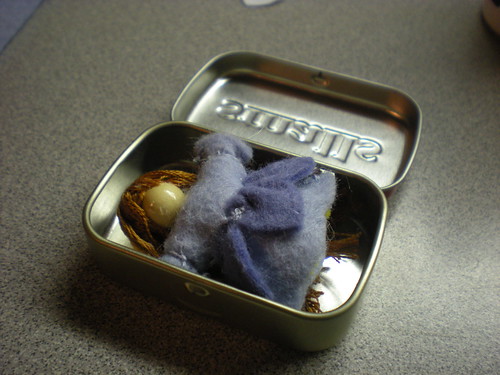
Tina requested that I do a tutorial on making these teeny tiny dolls, so I thought I'd give it a shot. These are made to fit into a *mini* altoid tin, like the one shown here.

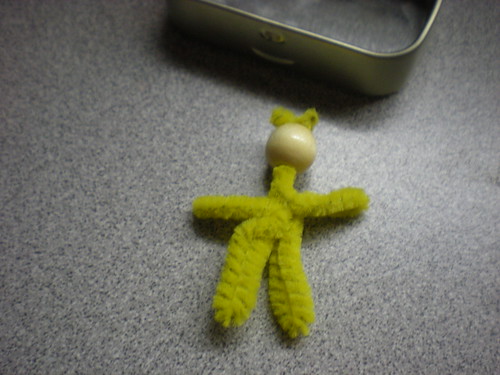
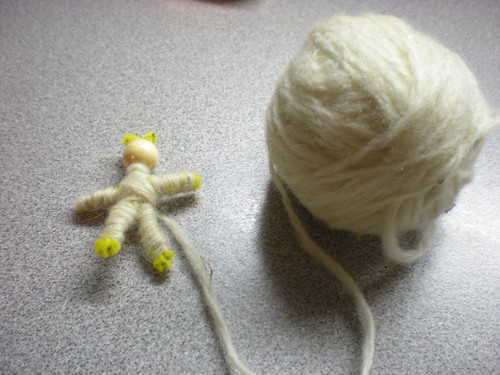
Start out with a 3/8" wooden bead and a pipe cleaner. I pushed one end of the pipe cleaner up through the hole in the bead, then bent it into neck, left arm, body, left leg, right leg, body, right arm, and neck. I cut off the pipe cleaner with enough room to push it up through the hole in the bead and bend the ends over to secure.

You can snip the ends of your pipe cleaner shorter if they are too long, just make sure it folds over enough to really secure the bead. Kind of ugly looking, isn't it? ;)

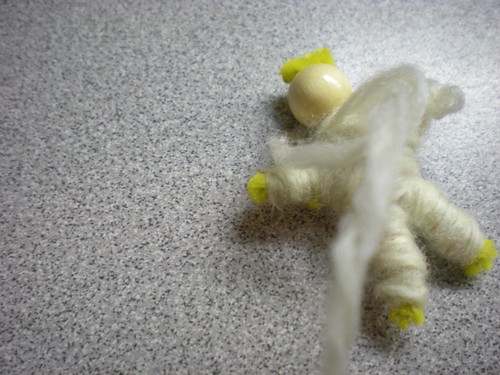
Start winding the pipe cleaner doll with yarn (I used wool, but I think any yarn would do.)

Keep going, fattening up the doll as much as you like. Leave a longish end so you can tie a double knot before snipping off the end.

Here it is all wrapped up. I did have a bit of trouble with some of the yarn wanting to come off the end of one hand. I guess I wrapped too close to the end. But a bit of glue convinced it to stay where it belonged.
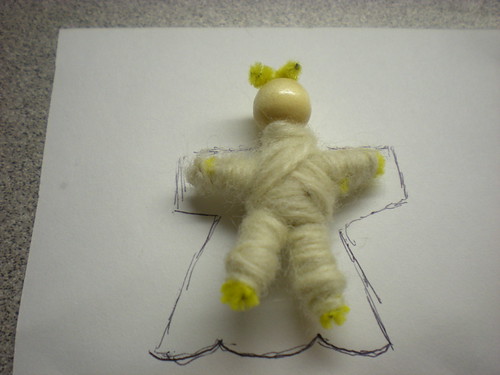
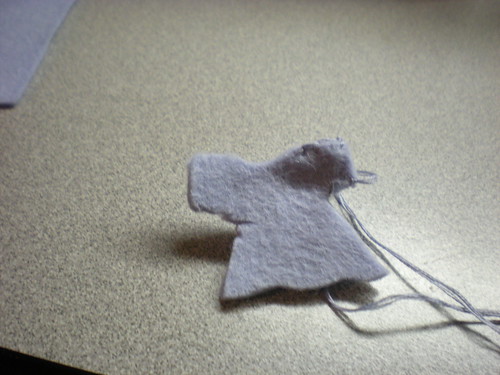
Laying the doll on a piece of paper, I traced a dress shape around it.

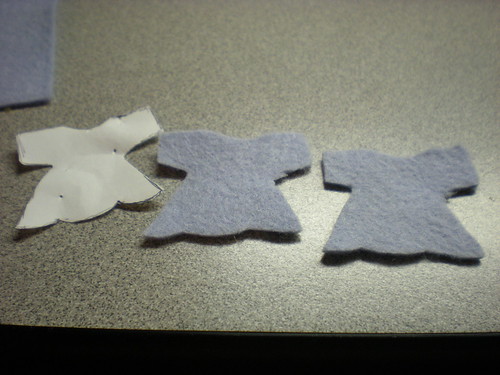
I cut two of these out of my lighter colored felt. (I purchased my wool felts and my matching embroidery flosses from Prairie Point Junction.)

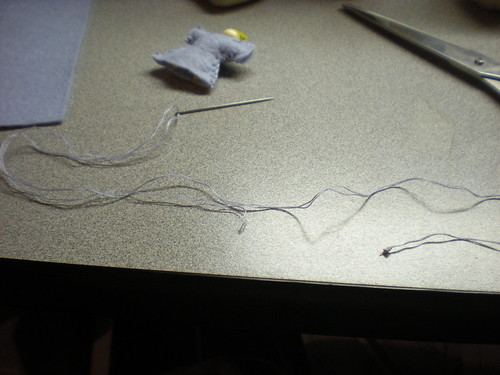
Separate two strands of floss and thread a needle, matching up the ends and knotting so that you have four strands to sew with. Start at the neck and sew the top of one sleeve with a blanket stitch. Run your needle through your stitch before pulling tight and do this twice to make "knot stitches" knotting off the end. Start again at the bottom of the sleeve, and continue down the side of the dress to the bottom.

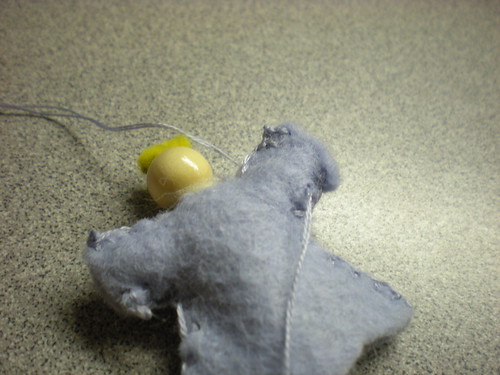
Place the dress on the doll and then stitch the other side of the dress. Now rethread your needle with two strands again, this time knot one end, leaving the short end free.

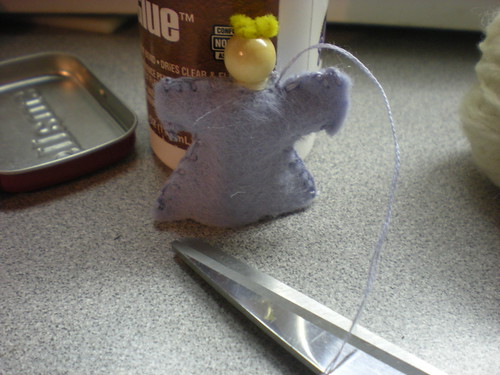
Use this to make a running stitch all around the neckline of the dress. Pull tight, gathering the dress around the doll's neck and secure with a couple of "knot stitches".

Sew your thread through the bottom of the sleeve where the "wrist" would be. Leave yourself room to work when you cut the thread.

Wrap the thread and knot it tightly around the wrist, tying with a double knot and snipping off the ends of your threads. Repeat with the other wrist.

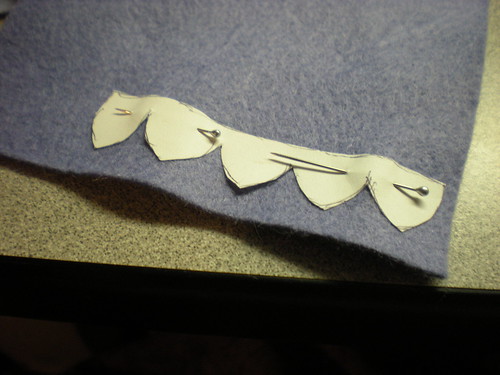
With the length of your skirt as a guideline, cut out a string of petals a little shorter than your dress skirt out of your darker felt.

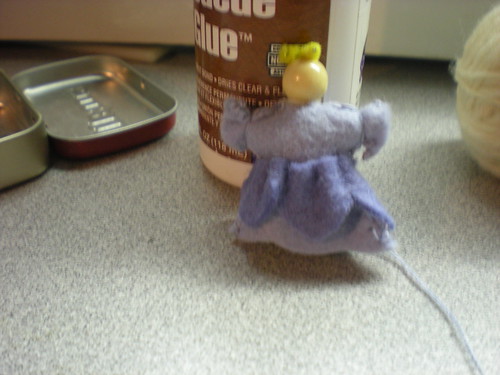
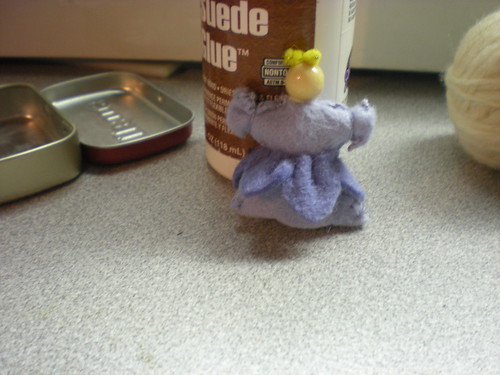
Gather the top edge of the petals, place it around the doll, and stitch the ends of the petals together.

Work your way around the petals again with your needle and thread, securing them to the dress, and cinching them up tighter and tighter as you go. Finish with a few knot stitches.

Choose a color of embroidery floss for hair. Fold it back and forth on itself until you have what looks like enough for a wig. Cut a shorter piece of floss and tie it around the center of your wig. Double knot it.

Wrap first one end of the tying thread around, under and over the ends of the pipe cleaner that stick out of the top of the head. Repeat with the other thread end.

Snip the loops of the wig so that each strand of hair is separated. You can even up the ends later if you wish.

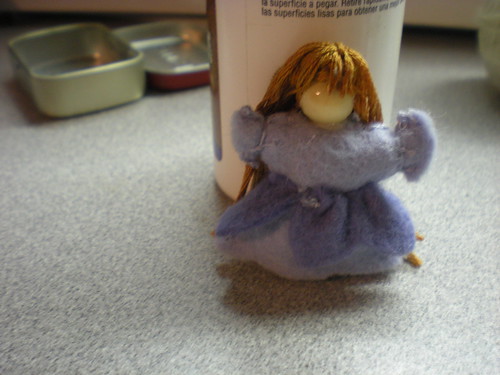
Arrange the doll's hair as desired, snipping a few pieces of floss in the front short to create bangs. Spread some glue on the bead and press the hair down into it where you want it to stay.

It's done! And it fits perfectly. Now I just have to decorate the little tins. :)

Tuesday, December 8, 2009

Christmas Preparations

I love this season of getting ready for Christmas. All the fun traditions, yet the freedom to change them if needed or wanted. When I was a little girl, every Christmas eve we had a "Christmas tree picnic" - a special meal eaten as a picnic by tree-light on the living room floor. Mike and I adapted the tradition to fit our own family, chosing to have our Christmas tree picnic on the night we set up the tree. Traditionally that has been the first Sunday in Advent.

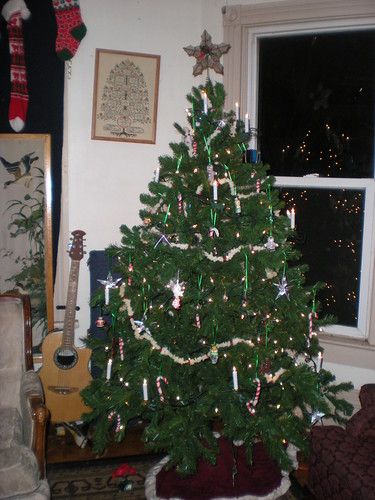
Well, this year, we wanted to do things a little differently. Part of it was that I wanted to do the tree differently. We've had the same pink and white and gold theme for at least 15 years and to be honest, it was getting boring - to me at least. I wanted an old fashioned tree to fit our old fashioned house. So I convinced Mike to wait a little longer this year.

Meanwhile, I started felting popcorn. I wanted strings of popcorn and cranberries, but ones that could be made once and used year after year. So I got out my wool roving and picked off little bits, squishing and squashing them in warm soapy water until they turned into something that looked quite a bit like pieces of popcorn. It was kind of fun - but slow. Each piece of popcorn needed to be squished for 5 - 10 minutes. At the end of the first evening's work, I had 30 pieces of popcorn. Only about 300 some more to go at least. LOL

I think Mike was watching me felting away and was beginning to realize it would probably be next year before the tree went up! One night he came home with a huge bag of foam bits (meant for stuffing) and some pretty red beads. They look remarkably like popcorn if you don't look too close. Within an hour or so, we had 3 six foot strands of popcorn and cranberries ready to go on the tree! It was wonderful!

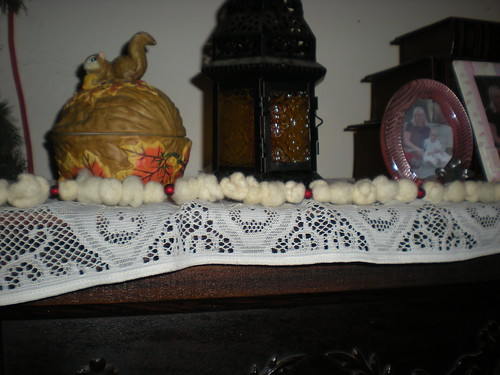
I strung the felted popcorn I had done with some beads and made one strand which I put on top of the piano. As Mike pointed out, if I just do a few pieces of popcorn a night, I could have close to 1000 pieces felted and ready to go for next year.

So that opened up the possibility of getting the tree set up and decorated. Hooray! We have several birthdays to work around in December plus our anniversary, so we decided to set it up on Saturday - the 5th. The kids and I made candy canes and gingerbread men from sculpey and painted them. My son, Jeremi glued tinfoil to paper and made origami stars. I *love* how they turned out! I switched out my old precious moments angel tree topper that I bought when I was about 16 years old, for a pretty more old fashioned looking star. I really wanted candles. I've always been fascinated with the old pictures I've seen of Christmas trees with candles on them. My friend Chautona helped me find a place online to order strings of lights that look like old fashioned candles! Way cool! We decided to do as my parents did and have the picnic part of it on Christmas Eve this year.
Now there's the cookies and carols and all the presents to make. :) Our family tradition is to do a homemade Christmas. All the gifts must be homemade. It gets gloriously overwhelming at the last minute - sometimes simplifying the grandiose plans we made at the beginning, and even once in a while putting an IOU under the tree, but nobody minds. It's so much fun to create something made specially to bless that precious person. Here's one I'm working on right now. (My little girls don't read my blog, so I'm safe) ;) It's a tiny little fairy doll that fits into a mini altoid tin. I plan to decorate the tin too. I also made some little gnome and flower fairy people for my Emilie like the ones at weefolkart.com . They are so CUTE.

I am so looking forward to Christmas Eve when our youngest child will put baby Jesus into the manger in the Nativity scene and we'll read Luke 2 and open all the wonderful homemade presents and have our Christmas tree picnic.
What a glorious time of year!!!!!!!!!

Wednesday, November 4, 2009

Wednesday, November 4, 2009


Wednesday, November 4, 2009

For Today 11/4/09
For more information, see http://thesimplewomansdaybook.blogspot.com/


FOR TODAY November 4, 2009

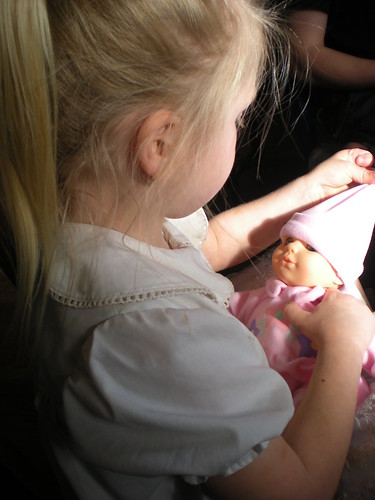
From my photos... - above: Amanda Grace with her new birthday dolly
...Outside my window - It's looking like it might clear up after all. It was trying to snow this morning

...I am thinking - about the next chapter of the story I'm writing. My mom and I are challenging eachother (in the spirit of nanowrimo, but not officially so - http://www.nanowrimo.org/ ) to finish our respective books by November 30th.

....I am thankful for - health, no swine flu at our house yet :)

...From the learning rooms - we're working a new song to sing for Thanksgiving. It's an old hymn called, What God Ordains Is Always Good. I chose to use a different melody.

....I am wearing - my white peasant chemise and my green and white gingham colorgrown cotton jumper

....I am creating - purple dresses for my girls to wear for Thanksgiving

...I am going - no where. The blue van is in the shop today getting that tie rod end replaced.


...I am hoping - to hear my baby's heartbeat next Wednesday even though it's still pretty early
...I am hearing - the washer and dryer humming

...Around the house - Lissa and Juli are singing while they work :) Jeremi's playing with Emi, Abigail and Amanda are straightening up their room, and Micha and Terran are working on their papers due in their Literature class soon

....I am wondering about - what to write for the Rosenow (my mom's side of the family) newsletter. I just got a request this morning to participate with a family update.

...One of my favorite things - listening to my kids sing in four part harmony :)

...A few plans for the rest of the week: find all the winter coats, boots, etc and figure out what fits whom and where we're going to put them.

Monday, November 2, 2009

November 1

What has not just one...


but TWO favorite meals,


tons of presents


and TWO cakes??

It's November 1st at our house. :) 5 years ago yesterday, Terran received a baby sister, Amanda Grace for his 11th birthday.
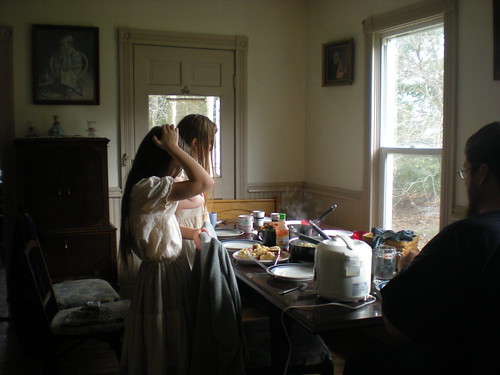
We had a really lovely day yesterday. Terran chose Chinese for his meal at lunch time. Chicken stir fry, rice, Terran's General Tzo's sauce and another less spicy sauce, egg rolls, and pot stickers. It was So good and we were So stuffed!
Then we let the birthday boy and girl open their presents. Amanda got a new doll and a stuffed horse. Terran got a big roll of craft leather and a book on tanning deer hides. Both got a package from Nana and Papa full of all kinds of things as well.
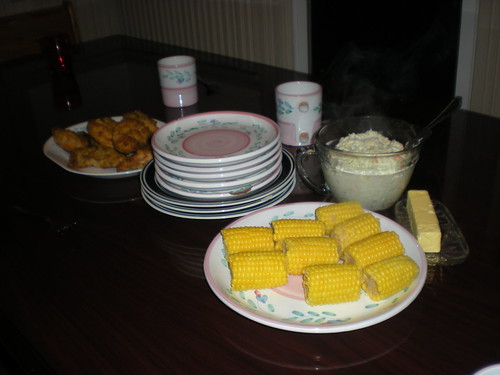
Amanda choose fried chicken, corn, and coleslaw for her birthday meal. No one was very hungry yet, but we made one piece for each person and it was very good, leaving just enough room for...
The cakes. :) Mike made a beautiful fairy castle cake for Amanda with pink strawberry cake and a dragon made of fruit roll ups. And Terran made his own ice cream cake - crushed oreos on the bottom, a quart of coffee ice cream, and crushed up heath bars on top. Yum!

One more year. It's hard to believe they're 16 and 5 already! We are so blessed!