Thursday, December 17, 2009

More Christmas Crafts

I love our homemade Christmas tradition. :) Here are the little gnome and fairy dolls I made for my youngest daughter's stocking. The patterns for these are available at http://www.weefolkart.com That has become one of my very favorite blogs to frequent. :) The wooden "people turnings" are from Casey's Wood and the felts and flosses are again from Prairie Point Junction.

My husband loved them so much that he suggested I try a design of my own. We live in Amish country, so these are very fitting Wisconsin dolls. :)

I cut the "body wrap" for each doll using the Wee folk pattern from blue felt. Then I cut a longer piece of black, but only half as high for the man's pants and two strips about 1/4" wide for his suspenders. I found that my son's leather glue works very well on felt and wood. The lady's skirt was a longer half-high strip of blue which I gathered and then sewed the ends together at her back. Some glue made sure it stayed in place. A smaller piece of gathered black felt became her apron and another longish 1/4" strip was glued on, covering the gathered edges of both skirt and apron and wrapping around to the back.
For the man's hat, I traced around a quarter, and then drew a larger circle around it. I cut out both circles and used another 1/4" strip to create the crown of the hat. The lady's bonnet is harder to explain. I've made so many little girls' bonnets, that I know the basic shape of the pattern pieces and just faked it cutting out a little one. One of these days I'll try to draw out the patterns for everything.
I sent these two cuties to my secret sister as part of her Christmas present. I hope she likes them. :)
And off the topic of cute little wee folk...
Here are the finished decorated altoid tin necklaces for the little dollies in the post below. :)

Think those will light up the faces of my 5 and 7 year olds? Especially when they peek inside? I can't wait to see their faces. :)

Monday, December 14, 2009

Altoid Tin Dolly Tutorial

Tina requested that I do a tutorial on making these teeny tiny dolls, so I thought I'd give it a shot. These are made to fit into a *mini* altoid tin, like the one shown here.

Start out with a 3/8" wooden bead and a pipe cleaner. I pushed one end of the pipe cleaner up through the hole in the bead, then bent it into neck, left arm, body, left leg, right leg, body, right arm, and neck. I cut off the pipe cleaner with enough room to push it up through the hole in the bead and bend the ends over to secure.

You can snip the ends of your pipe cleaner shorter if they are too long, just make sure it folds over enough to really secure the bead. Kind of ugly looking, isn't it? ;)

Start winding the pipe cleaner doll with yarn (I used wool, but I think any yarn would do.)

Keep going, fattening up the doll as much as you like. Leave a longish end so you can tie a double knot before snipping off the end.

Here it is all wrapped up. I did have a bit of trouble with some of the yarn wanting to come off the end of one hand. I guess I wrapped too close to the end. But a bit of glue convinced it to stay where it belonged.
Laying the doll on a piece of paper, I traced a dress shape around it.

I cut two of these out of my lighter colored felt. (I purchased my wool felts and my matching embroidery flosses from Prairie Point Junction.)

Separate two strands of floss and thread a needle, matching up the ends and knotting so that you have four strands to sew with. Start at the neck and sew the top of one sleeve with a blanket stitch. Run your needle through your stitch before pulling tight and do this twice to make "knot stitches" knotting off the end. Start again at the bottom of the sleeve, and continue down the side of the dress to the bottom.

Place the dress on the doll and then stitch the other side of the dress. Now rethread your needle with two strands again, this time knot one end, leaving the short end free.

Use this to make a running stitch all around the neckline of the dress. Pull tight, gathering the dress around the doll's neck and secure with a couple of "knot stitches".

Sew your thread through the bottom of the sleeve where the "wrist" would be. Leave yourself room to work when you cut the thread.

Wrap the thread and knot it tightly around the wrist, tying with a double knot and snipping off the ends of your threads. Repeat with the other wrist.

With the length of your skirt as a guideline, cut out a string of petals a little shorter than your dress skirt out of your darker felt.

Gather the top edge of the petals, place it around the doll, and stitch the ends of the petals together.

Work your way around the petals again with your needle and thread, securing them to the dress, and cinching them up tighter and tighter as you go. Finish with a few knot stitches.

Choose a color of embroidery floss for hair. Fold it back and forth on itself until you have what looks like enough for a wig. Cut a shorter piece of floss and tie it around the center of your wig. Double knot it.

Wrap first one end of the tying thread around, under and over the ends of the pipe cleaner that stick out of the top of the head. Repeat with the other thread end.

Snip the loops of the wig so that each strand of hair is separated. You can even up the ends later if you wish.

Arrange the doll's hair as desired, snipping a few pieces of floss in the front short to create bangs. Spread some glue on the bead and press the hair down into it where you want it to stay.

It's done! And it fits perfectly. Now I just have to decorate the little tins. :)

Tuesday, December 8, 2009

Christmas Preparations

I love this season of getting ready for Christmas. All the fun traditions, yet the freedom to change them if needed or wanted. When I was a little girl, every Christmas eve we had a "Christmas tree picnic" - a special meal eaten as a picnic by tree-light on the living room floor. Mike and I adapted the tradition to fit our own family, chosing to have our Christmas tree picnic on the night we set up the tree. Traditionally that has been the first Sunday in Advent.

Well, this year, we wanted to do things a little differently. Part of it was that I wanted to do the tree differently. We've had the same pink and white and gold theme for at least 15 years and to be honest, it was getting boring - to me at least. I wanted an old fashioned tree to fit our old fashioned house. So I convinced Mike to wait a little longer this year.

Meanwhile, I started felting popcorn. I wanted strings of popcorn and cranberries, but ones that could be made once and used year after year. So I got out my wool roving and picked off little bits, squishing and squashing them in warm soapy water until they turned into something that looked quite a bit like pieces of popcorn. It was kind of fun - but slow. Each piece of popcorn needed to be squished for 5 - 10 minutes. At the end of the first evening's work, I had 30 pieces of popcorn. Only about 300 some more to go at least. LOL

I think Mike was watching me felting away and was beginning to realize it would probably be next year before the tree went up! One night he came home with a huge bag of foam bits (meant for stuffing) and some pretty red beads. They look remarkably like popcorn if you don't look too close. Within an hour or so, we had 3 six foot strands of popcorn and cranberries ready to go on the tree! It was wonderful!

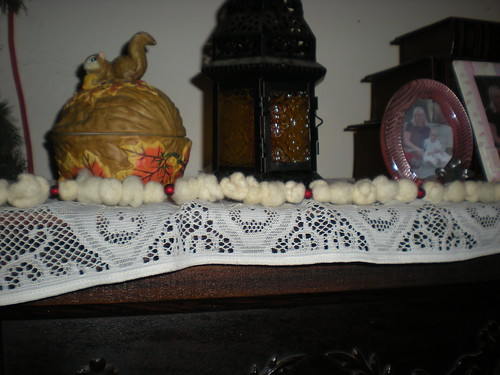
I strung the felted popcorn I had done with some beads and made one strand which I put on top of the piano. As Mike pointed out, if I just do a few pieces of popcorn a night, I could have close to 1000 pieces felted and ready to go for next year.

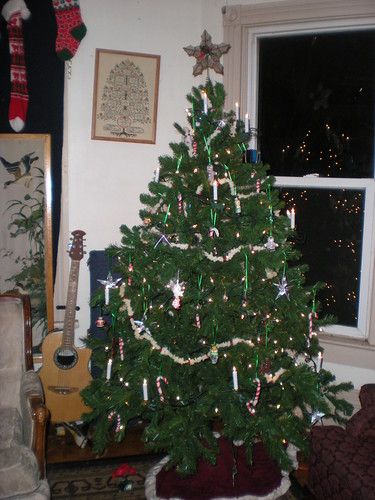
So that opened up the possibility of getting the tree set up and decorated. Hooray! We have several birthdays to work around in December plus our anniversary, so we decided to set it up on Saturday - the 5th. The kids and I made candy canes and gingerbread men from sculpey and painted them. My son, Jeremi glued tinfoil to paper and made origami stars. I *love* how they turned out! I switched out my old precious moments angel tree topper that I bought when I was about 16 years old, for a pretty more old fashioned looking star. I really wanted candles. I've always been fascinated with the old pictures I've seen of Christmas trees with candles on them. My friend Chautona helped me find a place online to order strings of lights that look like old fashioned candles! Way cool! We decided to do as my parents did and have the picnic part of it on Christmas Eve this year.
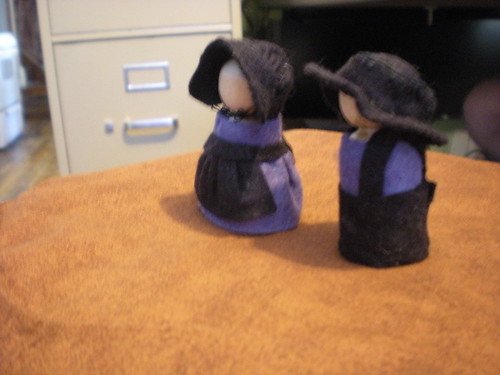
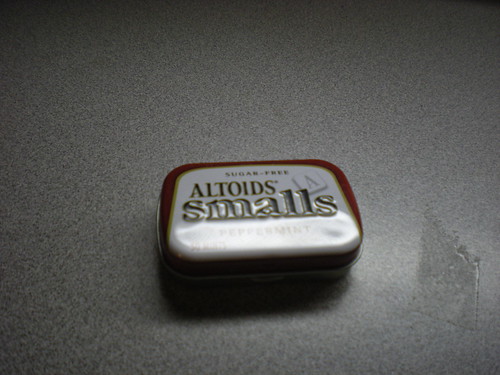
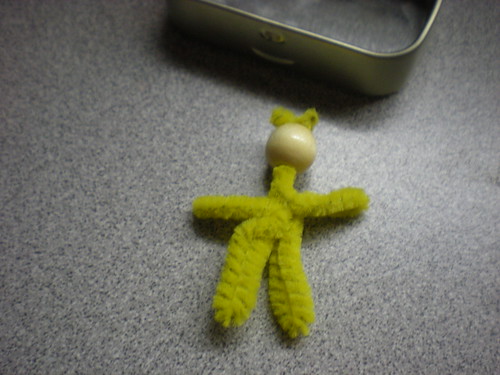
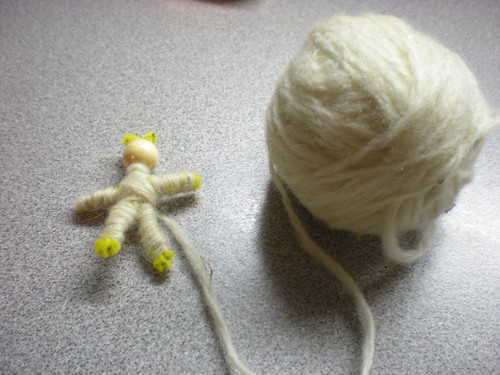
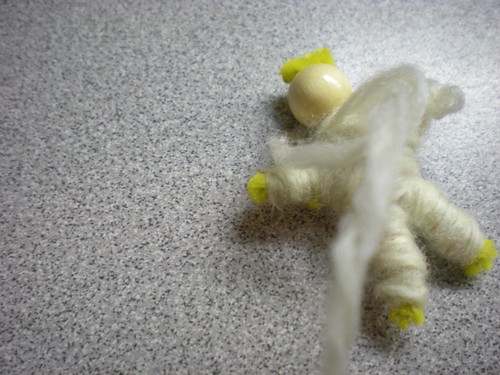
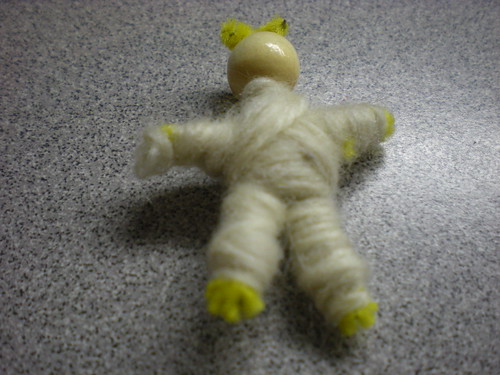
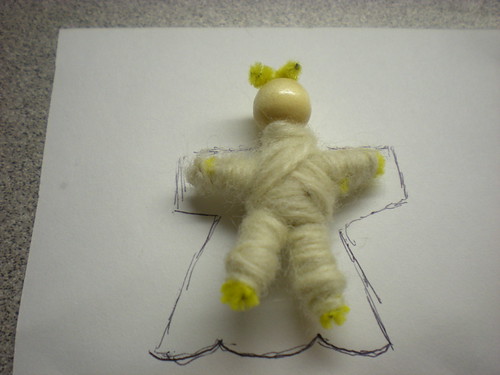
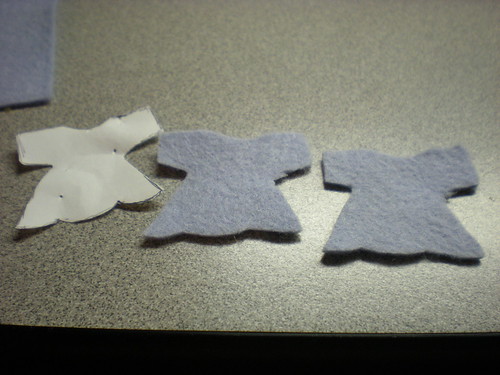
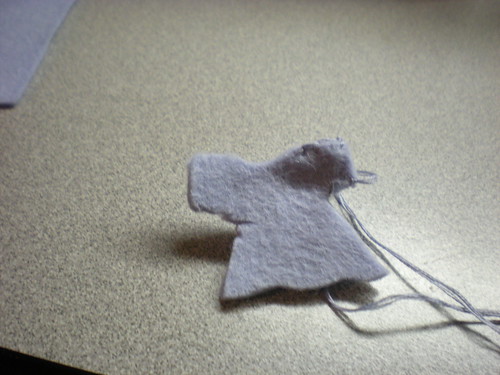
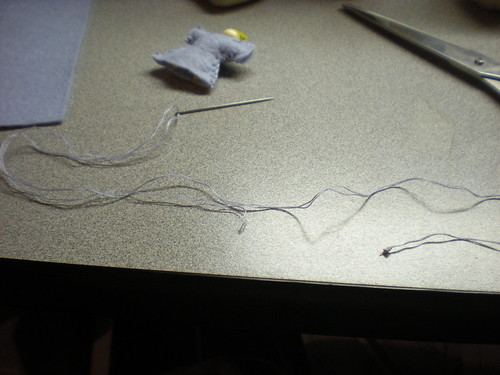
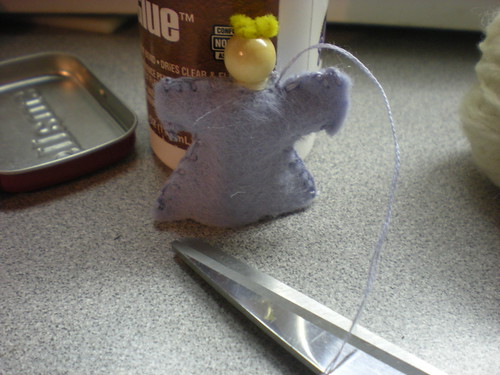
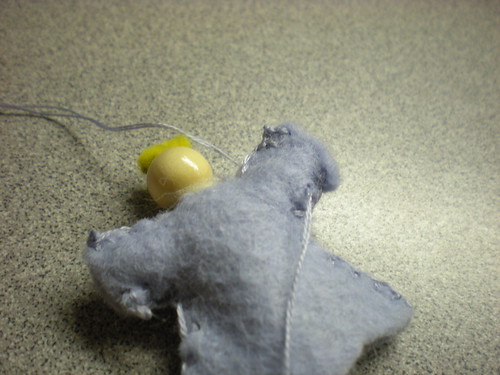
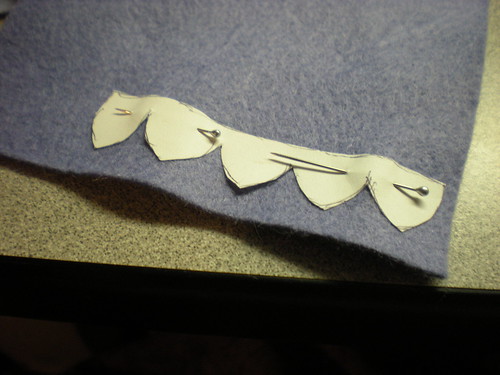
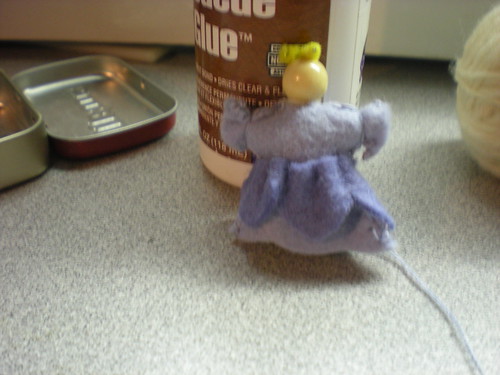
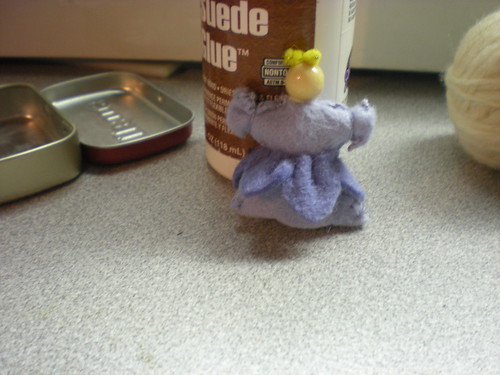
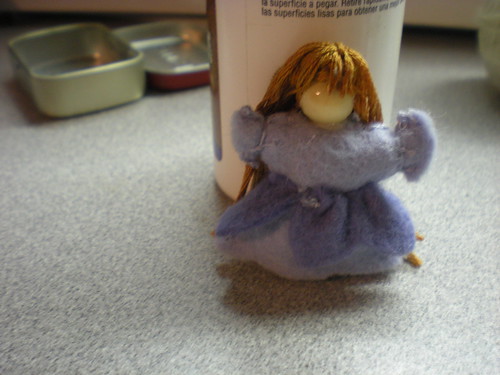
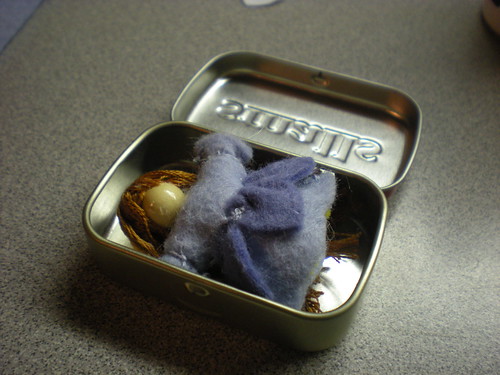
Now there's the cookies and carols and all the presents to make. :) Our family tradition is to do a homemade Christmas. All the gifts must be homemade. It gets gloriously overwhelming at the last minute - sometimes simplifying the grandiose plans we made at the beginning, and even once in a while putting an IOU under the tree, but nobody minds. It's so much fun to create something made specially to bless that precious person. Here's one I'm working on right now. (My little girls don't read my blog, so I'm safe) ;) It's a tiny little fairy doll that fits into a mini altoid tin. I plan to decorate the tin too. I also made some little gnome and flower fairy people for my Emilie like the ones at weefolkart.com . They are so CUTE.

I am so looking forward to Christmas Eve when our youngest child will put baby Jesus into the manger in the Nativity scene and we'll read Luke 2 and open all the wonderful homemade presents and have our Christmas tree picnic.
What a glorious time of year!!!!!!!!!