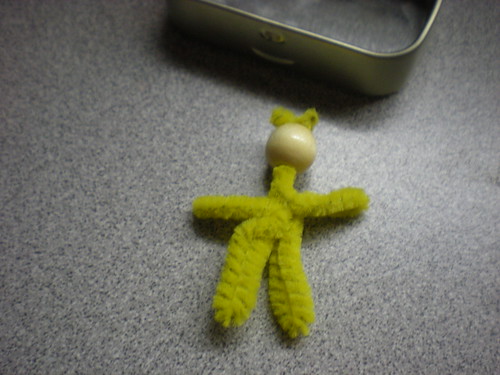
Start out with a 3/8" wooden bead and a pipe cleaner. I pushed one end of the pipe cleaner up through the hole in the bead, then bent it into neck, left arm, body, left leg, right leg, body, right arm, and neck. I cut off the pipe cleaner with enough room to push it up through the hole in the bead and bend the ends over to secure.

You can snip the ends of your pipe cleaner shorter if they are too long, just make sure it folds over enough to really secure the bead. Kind of ugly looking, isn't it? ;)
Start winding the pipe cleaner doll with yarn (I used wool, but I think any yarn would do.)
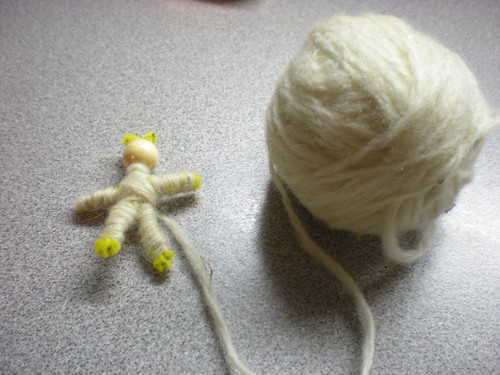
Keep going, fattening up the doll as much as you like. Leave a longish end so you can tie a double knot before snipping off the end.
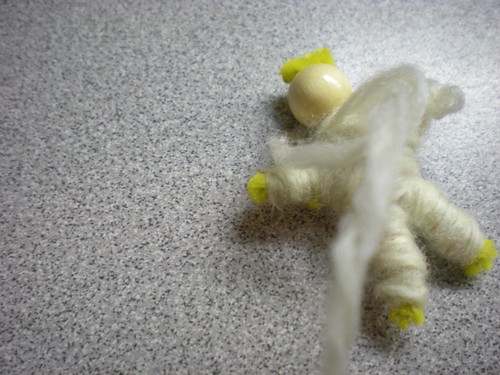
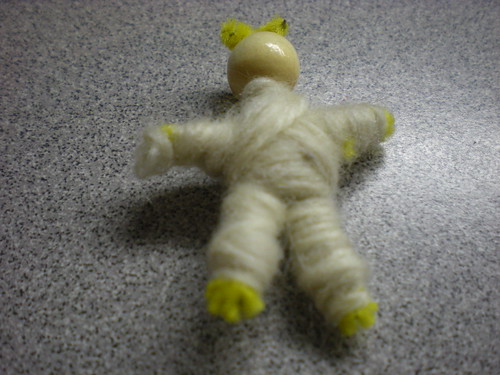
Here it is all wrapped up. I did have a bit of trouble with some of the yarn wanting to come off the end of one hand. I guess I wrapped too close to the end. But a bit of glue convinced it to stay where it belonged.
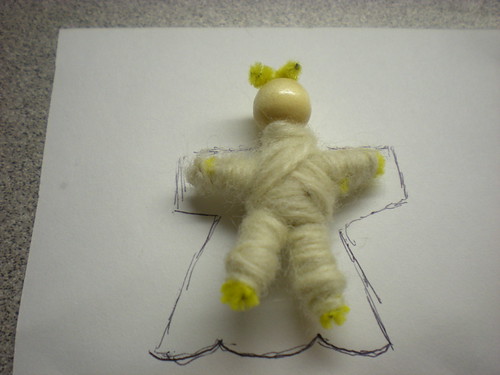
 Laying the doll on a piece of paper, I traced a dress shape around it.
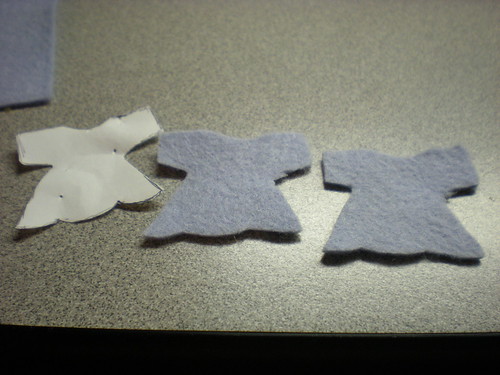
I cut two of these out of my lighter colored felt. (I purchased my wool felts and my matching embroidery flosses from Prairie Point Junction.)
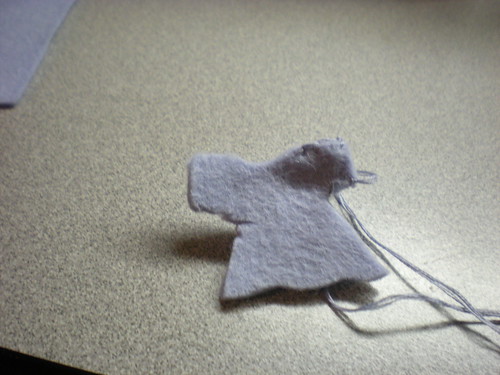
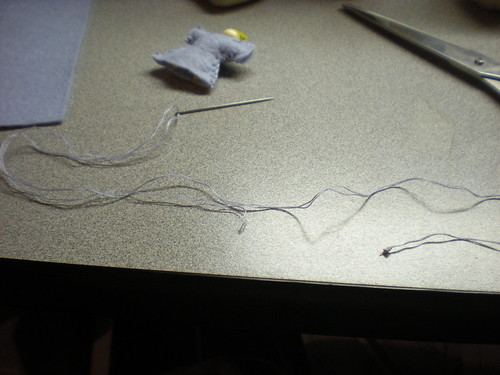
Separate two strands of floss and thread a needle, matching up the ends and knotting so that you have four strands to sew with. Start at the neck and sew the top of one sleeve with a blanket stitch. Run your needle through your stitch before pulling tight and do this twice to make "knot stitches" knotting off the end. Start again at the bottom of the sleeve, and continue down the side of the dress to the bottom.
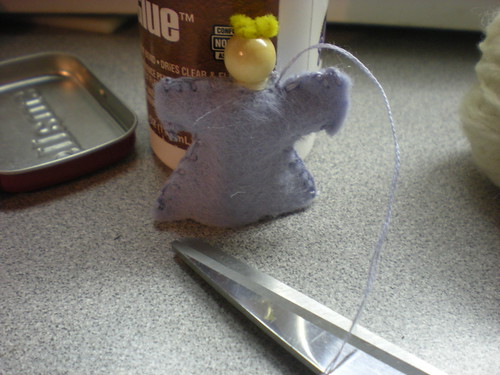
Place the dress on the doll and then stitch the other side of the dress. Now rethread your needle with two strands again, this time knot one end, leaving the short end free.
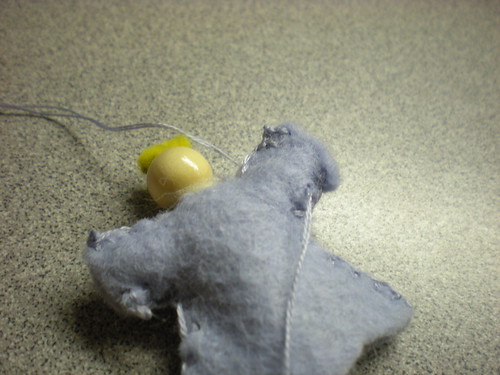
Use this to make a running stitch all around the neckline of the dress. Pull tight, gathering the dress around the doll's neck and secure with a couple of "knot stitches".
Sew your thread through the bottom of the sleeve where the "wrist" would be. Leave yourself room to work when you cut the thread.
Wrap the thread and knot it tightly around the wrist, tying with a double knot and snipping off the ends of your threads. Repeat with the other wrist.

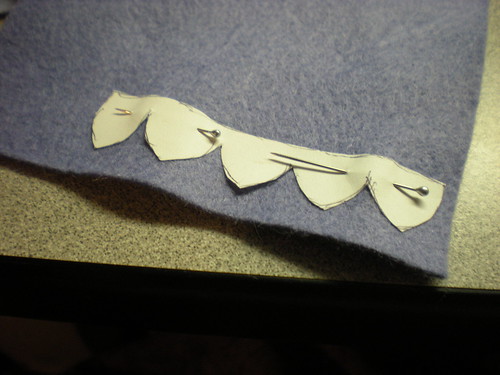
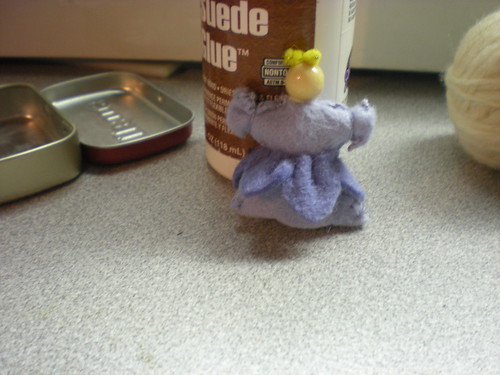
With the length of your skirt as a guideline, cut out a string of petals a little shorter than your dress skirt out of your darker felt.
Gather the top edge of the petals, place it around the doll, and stitch the ends of the petals together.
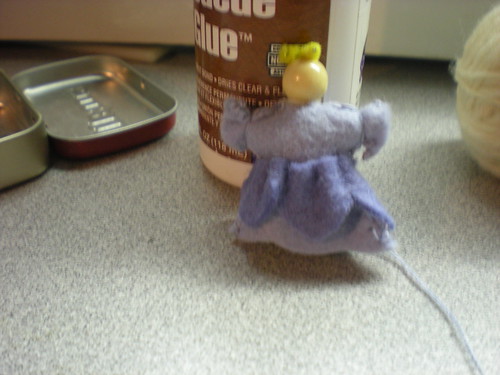
Work your way around the petals again with your needle and thread, securing them to the dress, and cinching them up tighter and tighter as you go. Finish with a few knot stitches.
Choose a color of embroidery floss for hair. Fold it back and forth on itself until you have what looks like enough for a wig. Cut a shorter piece of floss and tie it around the center of your wig. Double knot it.

Wrap first one end of the tying thread around, under and over the ends of the pipe cleaner that stick out of the top of the head. Repeat with the other thread end.

Snip the loops of the wig so that each strand of hair is separated. You can even up the ends later if you wish.

Arrange the doll's hair as desired, snipping a few pieces of floss in the front short to create bangs. Spread some glue on the bead and press the hair down into it where you want it to stay.
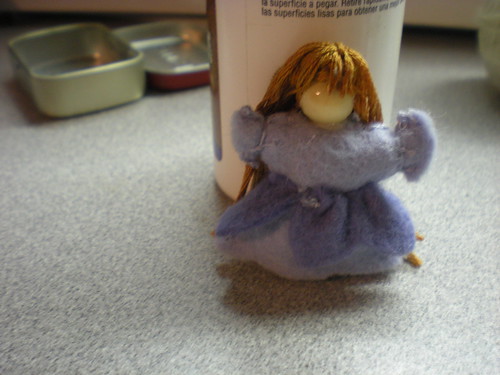
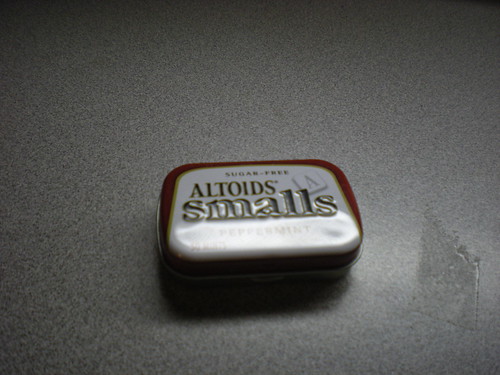
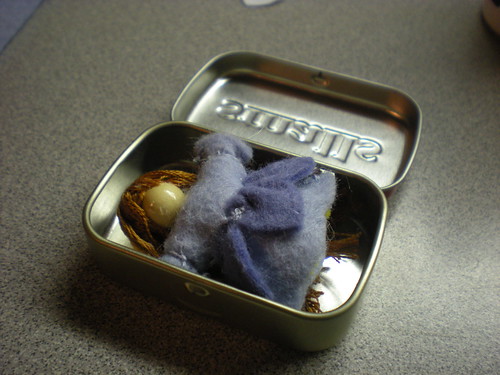
It's done! And it fits perfectly. Now I just have to decorate the little tins. :)
Separate two strands of floss and thread a needle, matching up the ends and knotting so that you have four strands to sew with. Start at the neck and sew the top of one sleeve with a blanket stitch. Run your needle through your stitch before pulling tight and do this twice to make "knot stitches" knotting off the end. Start again at the bottom of the sleeve, and continue down the side of the dress to the bottom.
Place the dress on the doll and then stitch the other side of the dress. Now rethread your needle with two strands again, this time knot one end, leaving the short end free.
Use this to make a running stitch all around the neckline of the dress. Pull tight, gathering the dress around the doll's neck and secure with a couple of "knot stitches".
Sew your thread through the bottom of the sleeve where the "wrist" would be. Leave yourself room to work when you cut the thread.
Wrap the thread and knot it tightly around the wrist, tying with a double knot and snipping off the ends of your threads. Repeat with the other wrist.
With the length of your skirt as a guideline, cut out a string of petals a little shorter than your dress skirt out of your darker felt.
Gather the top edge of the petals, place it around the doll, and stitch the ends of the petals together.
Work your way around the petals again with your needle and thread, securing them to the dress, and cinching them up tighter and tighter as you go. Finish with a few knot stitches.
Choose a color of embroidery floss for hair. Fold it back and forth on itself until you have what looks like enough for a wig. Cut a shorter piece of floss and tie it around the center of your wig. Double knot it.
Wrap first one end of the tying thread around, under and over the ends of the pipe cleaner that stick out of the top of the head. Repeat with the other thread end.
Arrange the doll's hair as desired, snipping a few pieces of floss in the front short to create bangs. Spread some glue on the bead and press the hair down into it where you want it to stay.
It's done! And it fits perfectly. Now I just have to decorate the little tins. :)


Oh Hedi, What a cute idea! Thank-u for sharing. Hope you have a great day! Blessings, Faye
ReplyDeleteThank you! How kind of you to do this at my request in the midst of your busy Christmas preparations!
ReplyDeleteMy girls will love this Heidi.
Tina
CUTE!!! I'm going to my my little girl look at these to see if she would like one. THANKS for sharing this.
ReplyDeleteI love this. I think this would be perfect for my little girl to have during church services.
ReplyDeletethanks for sharing this great little tutorial.
ReplyDeleteSo cute! My girls will love this-it'll make a great "stuck in the house" on a winter day craft. Thank you!
ReplyDelete